Quick Start
You need to first create an account on the IMKIT Dashboard and create a Chat Server (Application) to obtain the Client Key and API Key for using the IMKIT Platform API.
Step 1: Create an Account
- Go to the registration page of the IMKIT Dashboard and follow the instructions to complete the registration. In addition to Email, you can also register using an Apple ID.
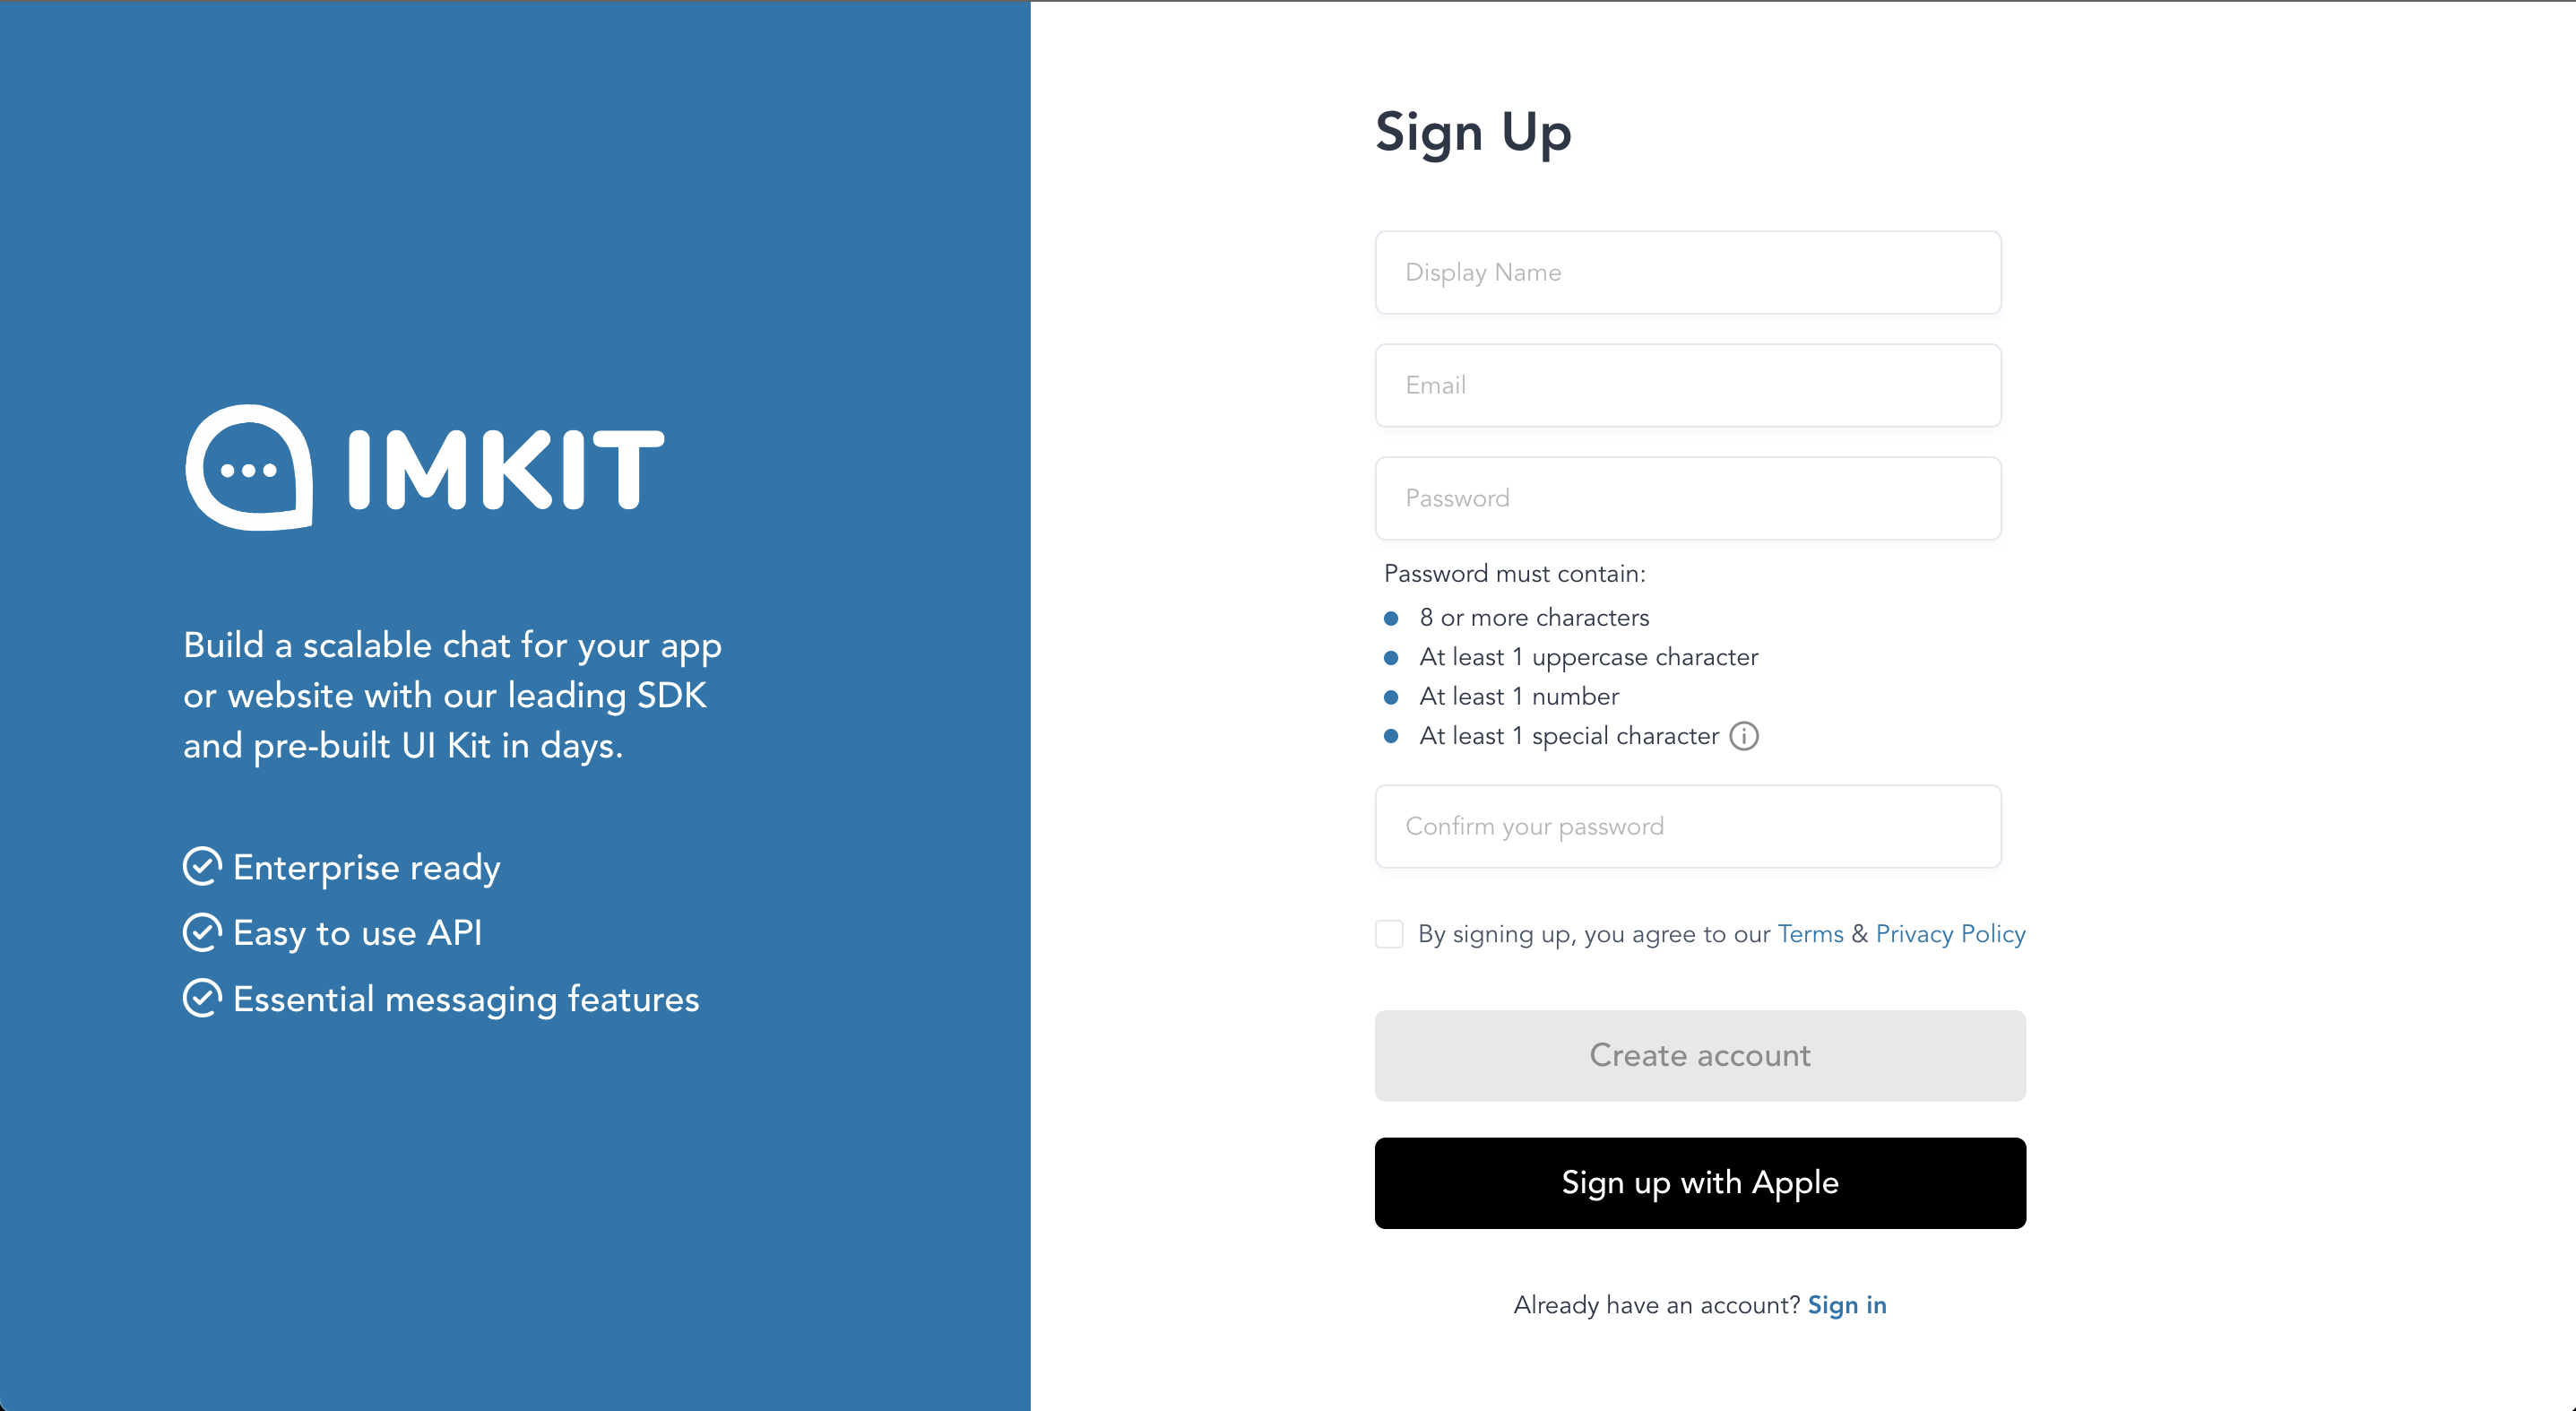
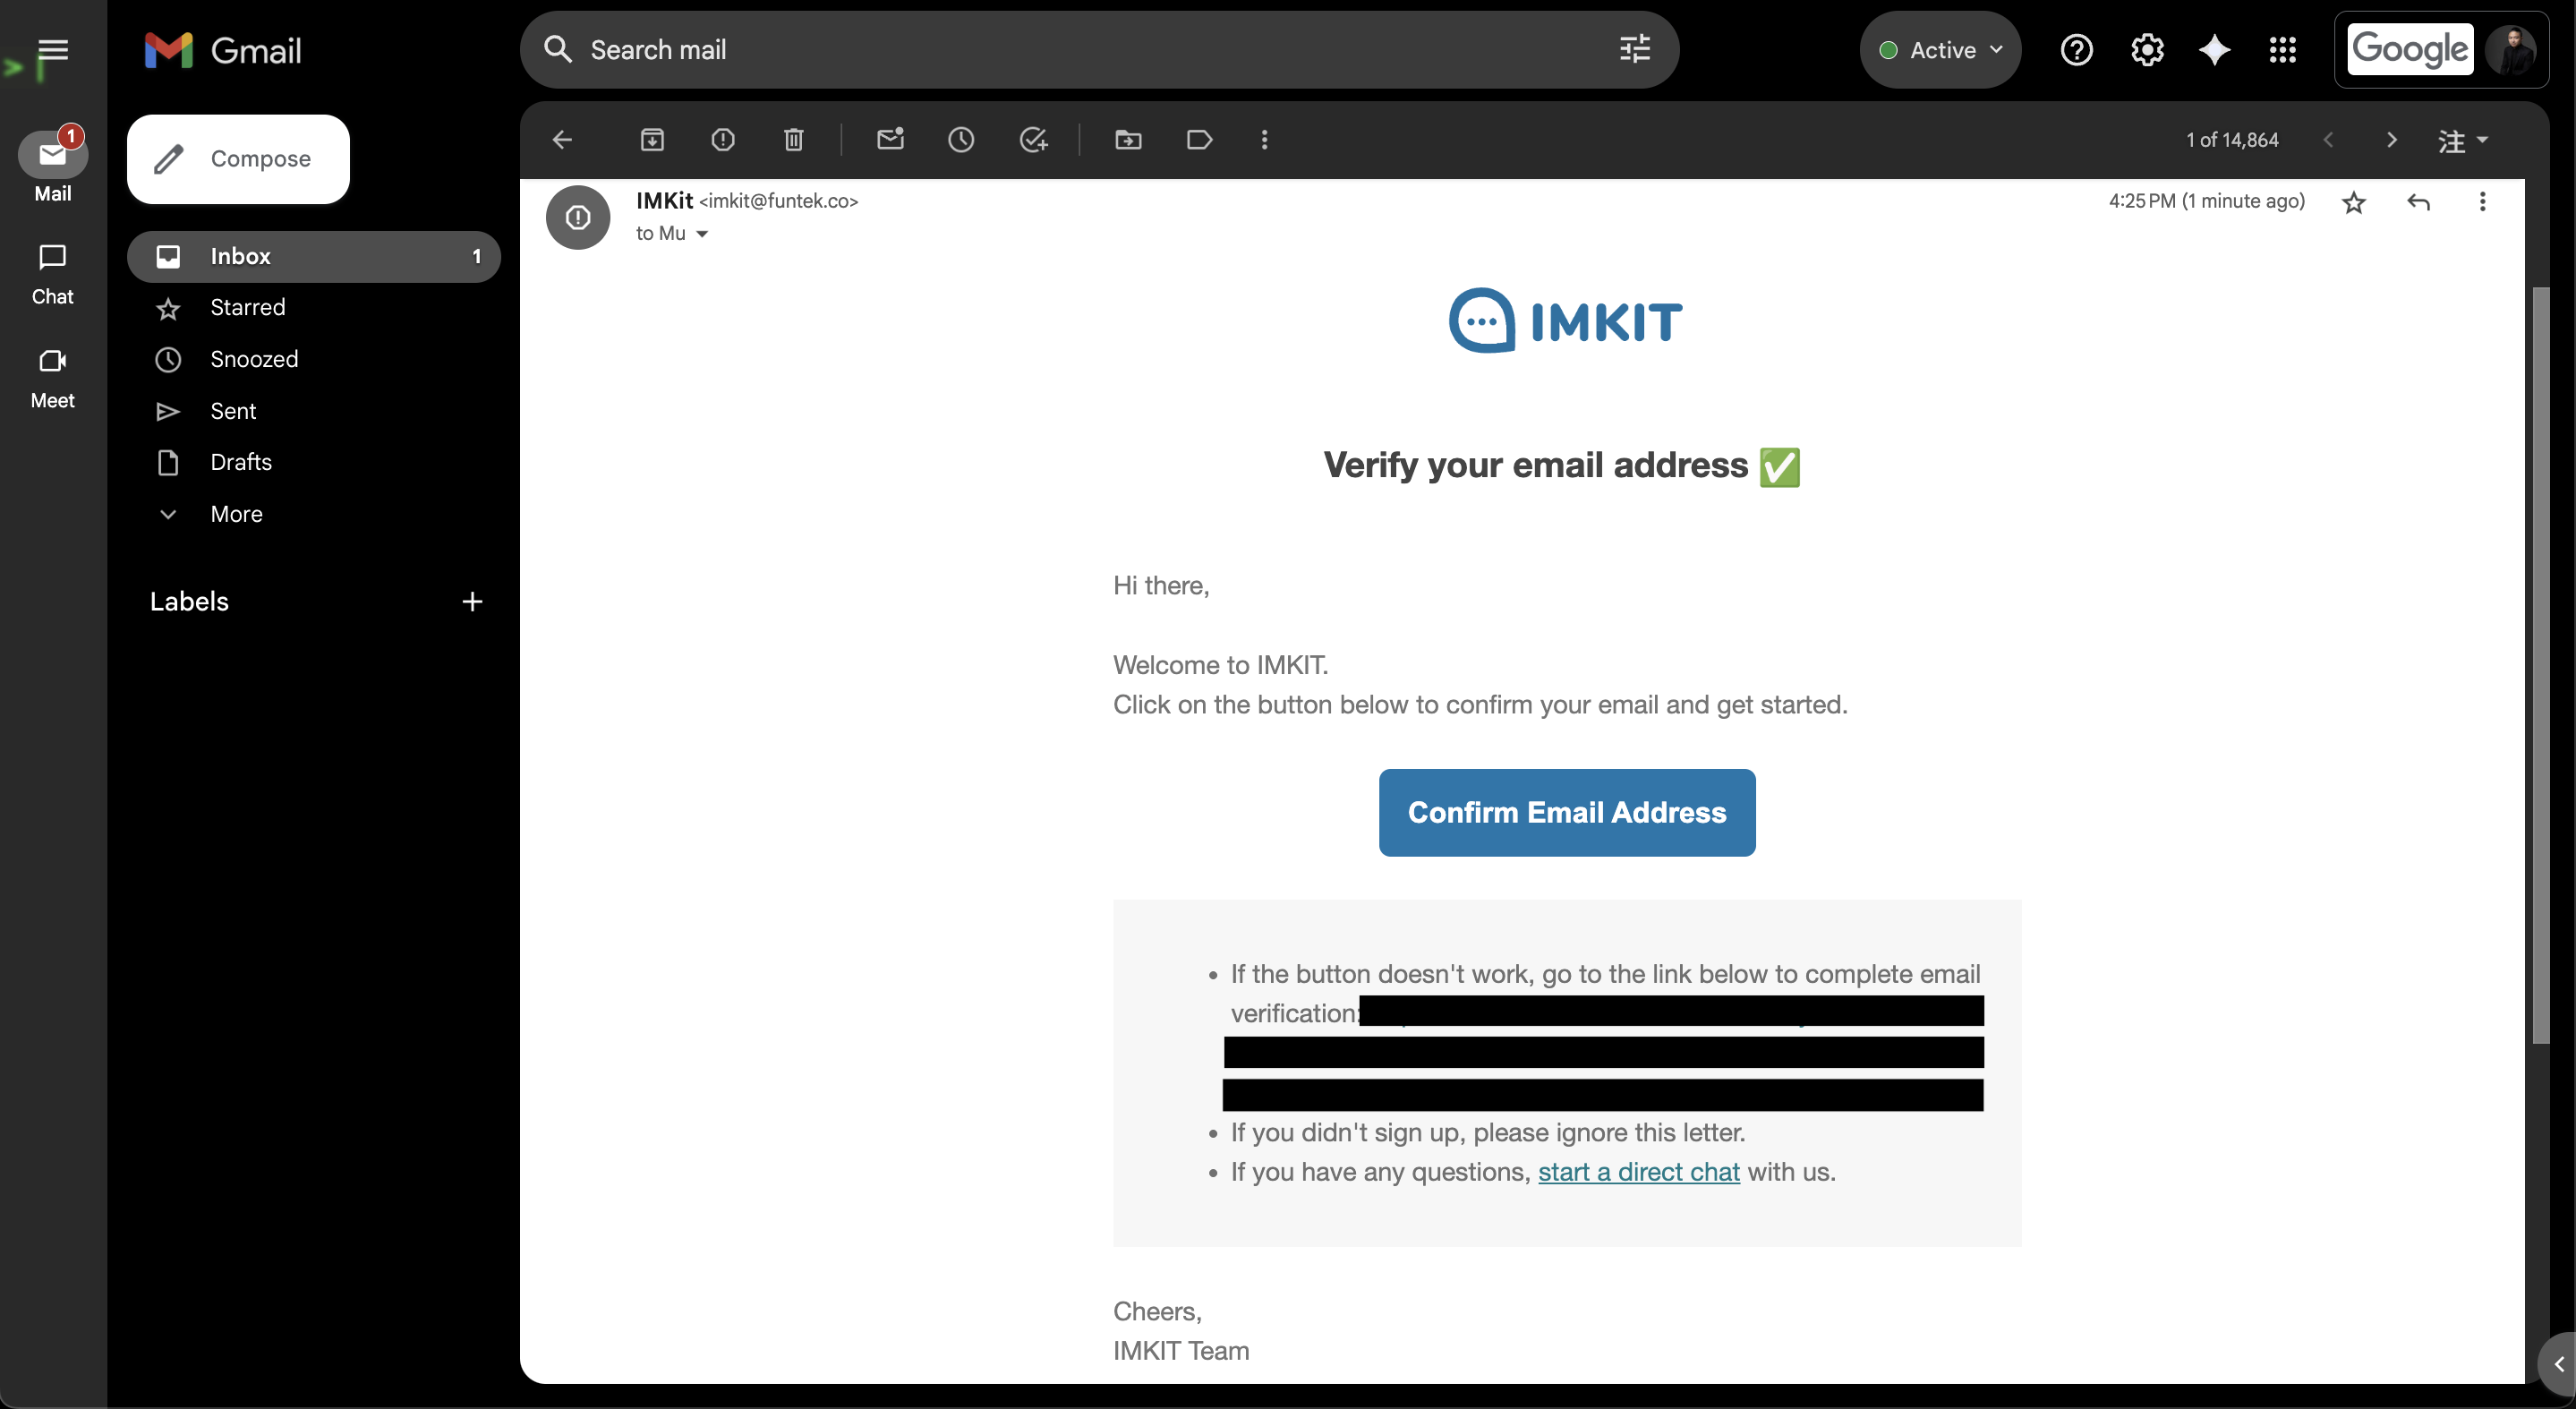
- After completing the registration, check your registered email inbox for the verification email, and follow the instructions to complete verification.
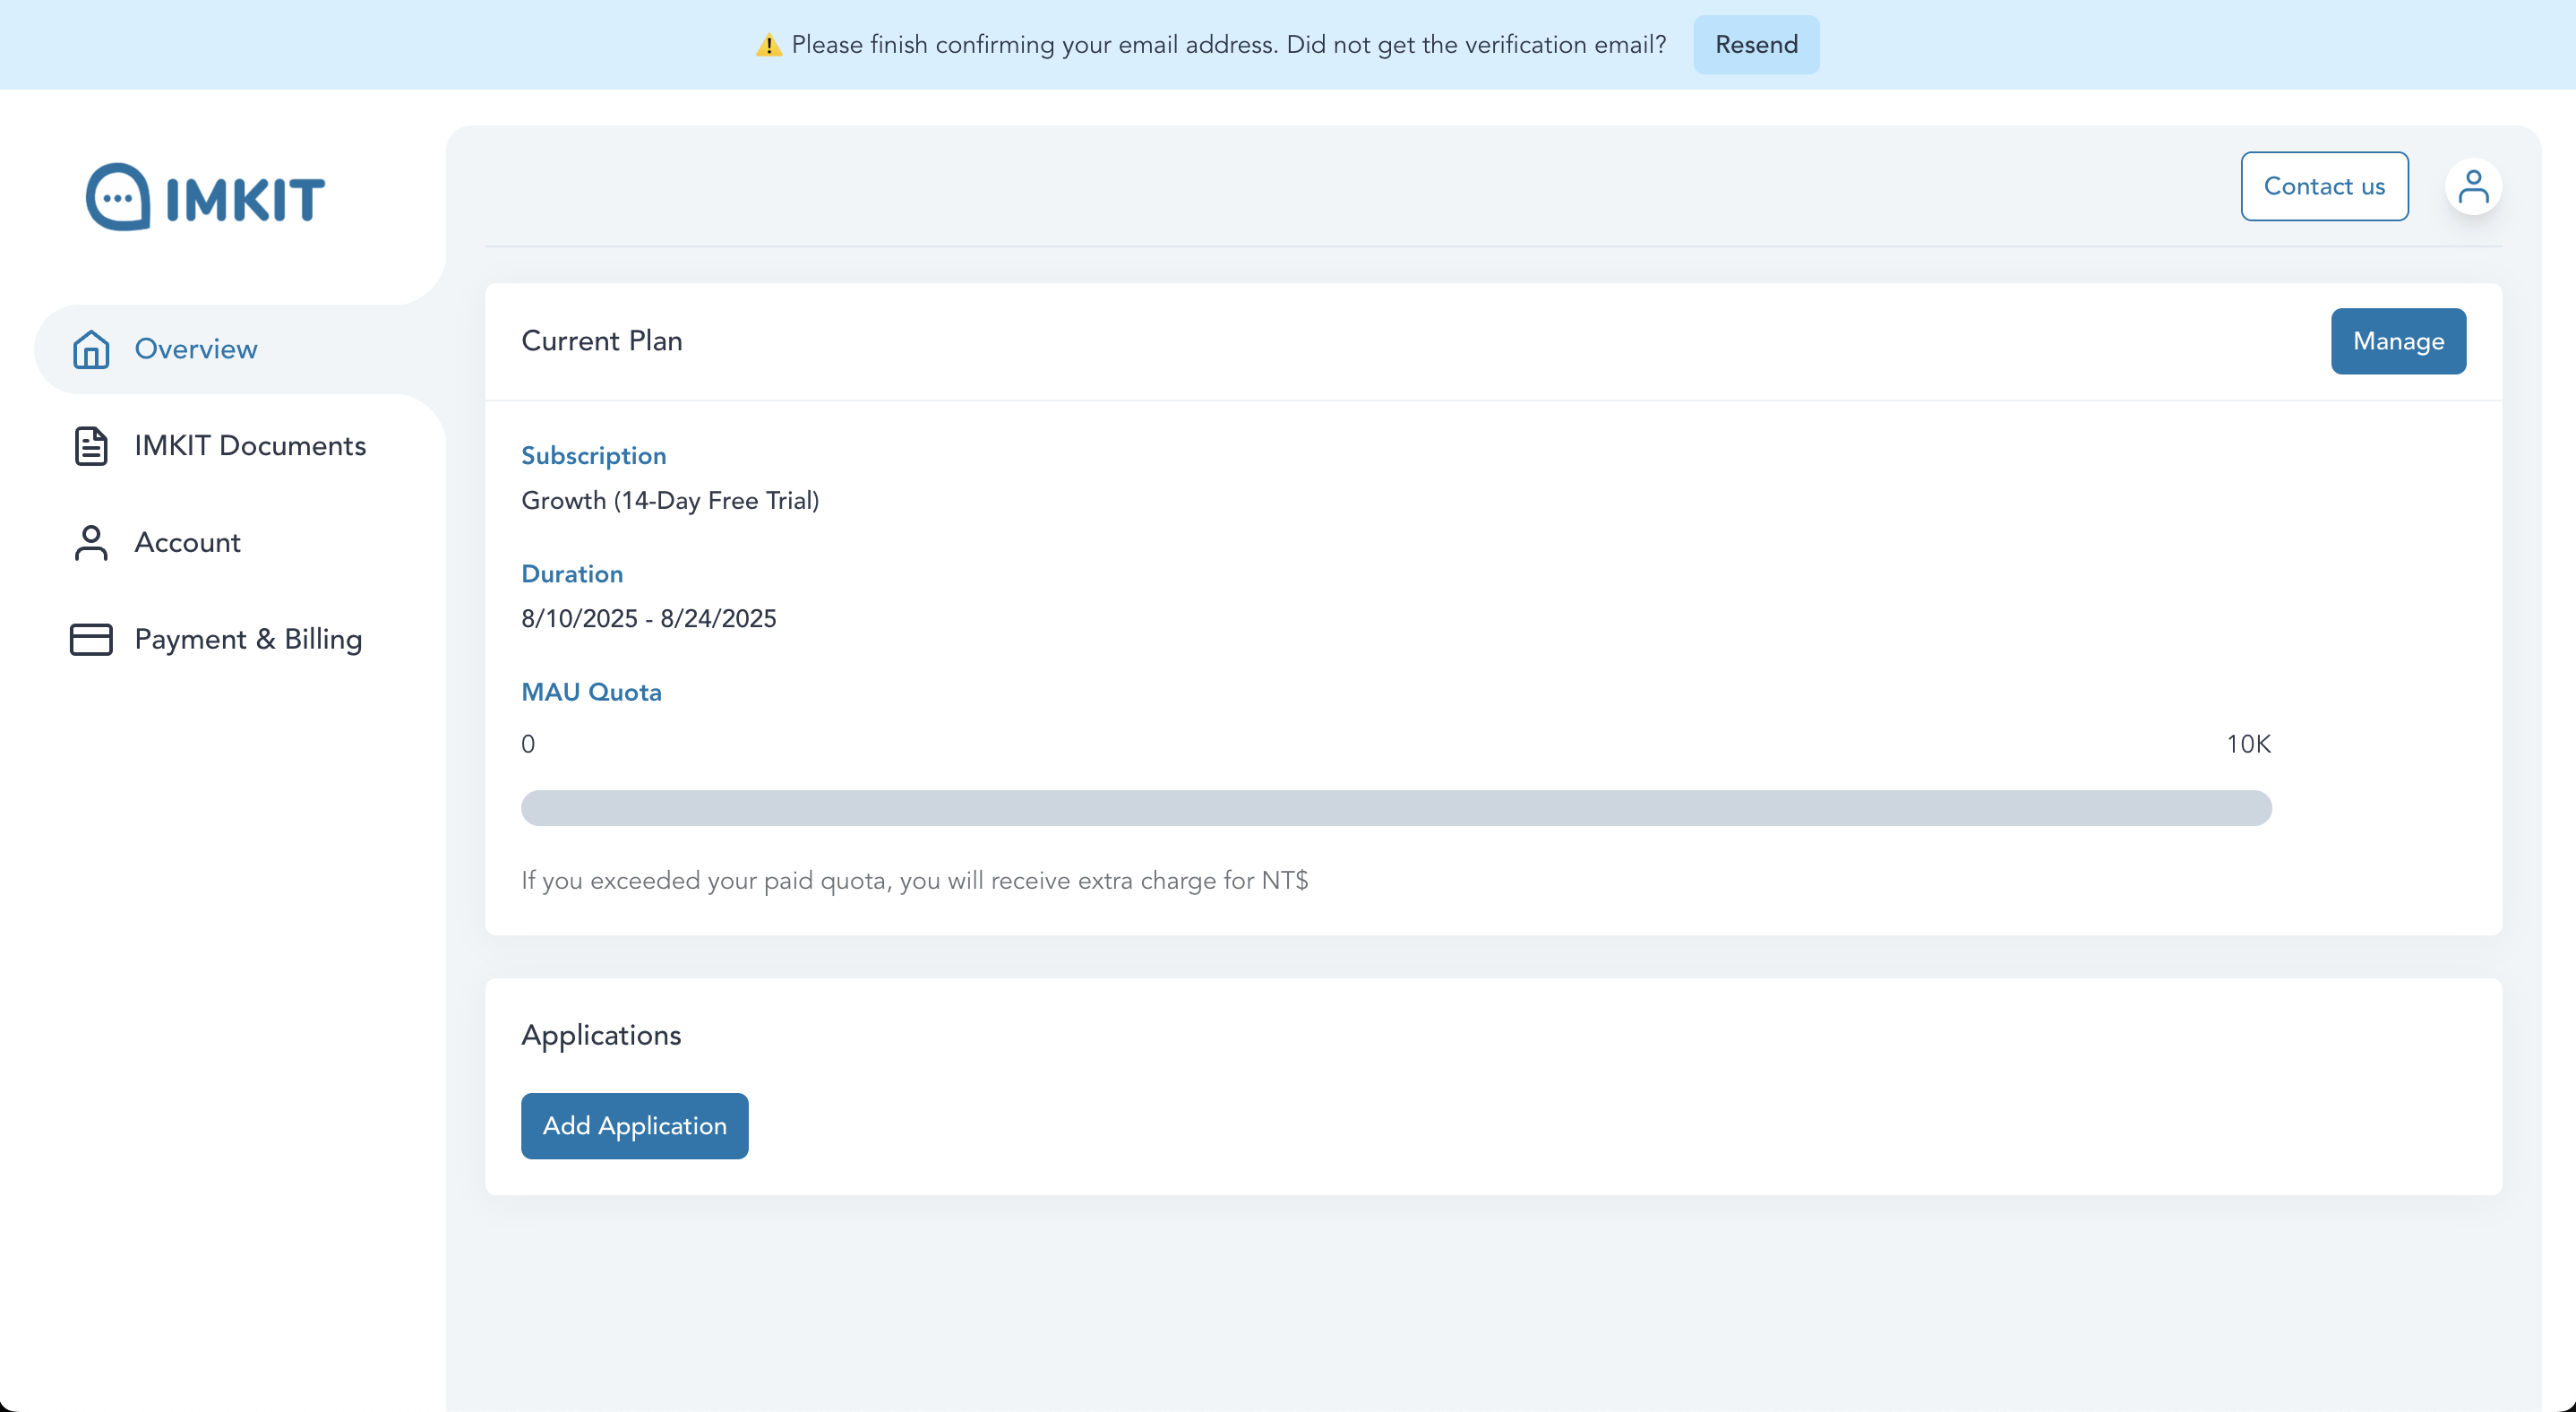
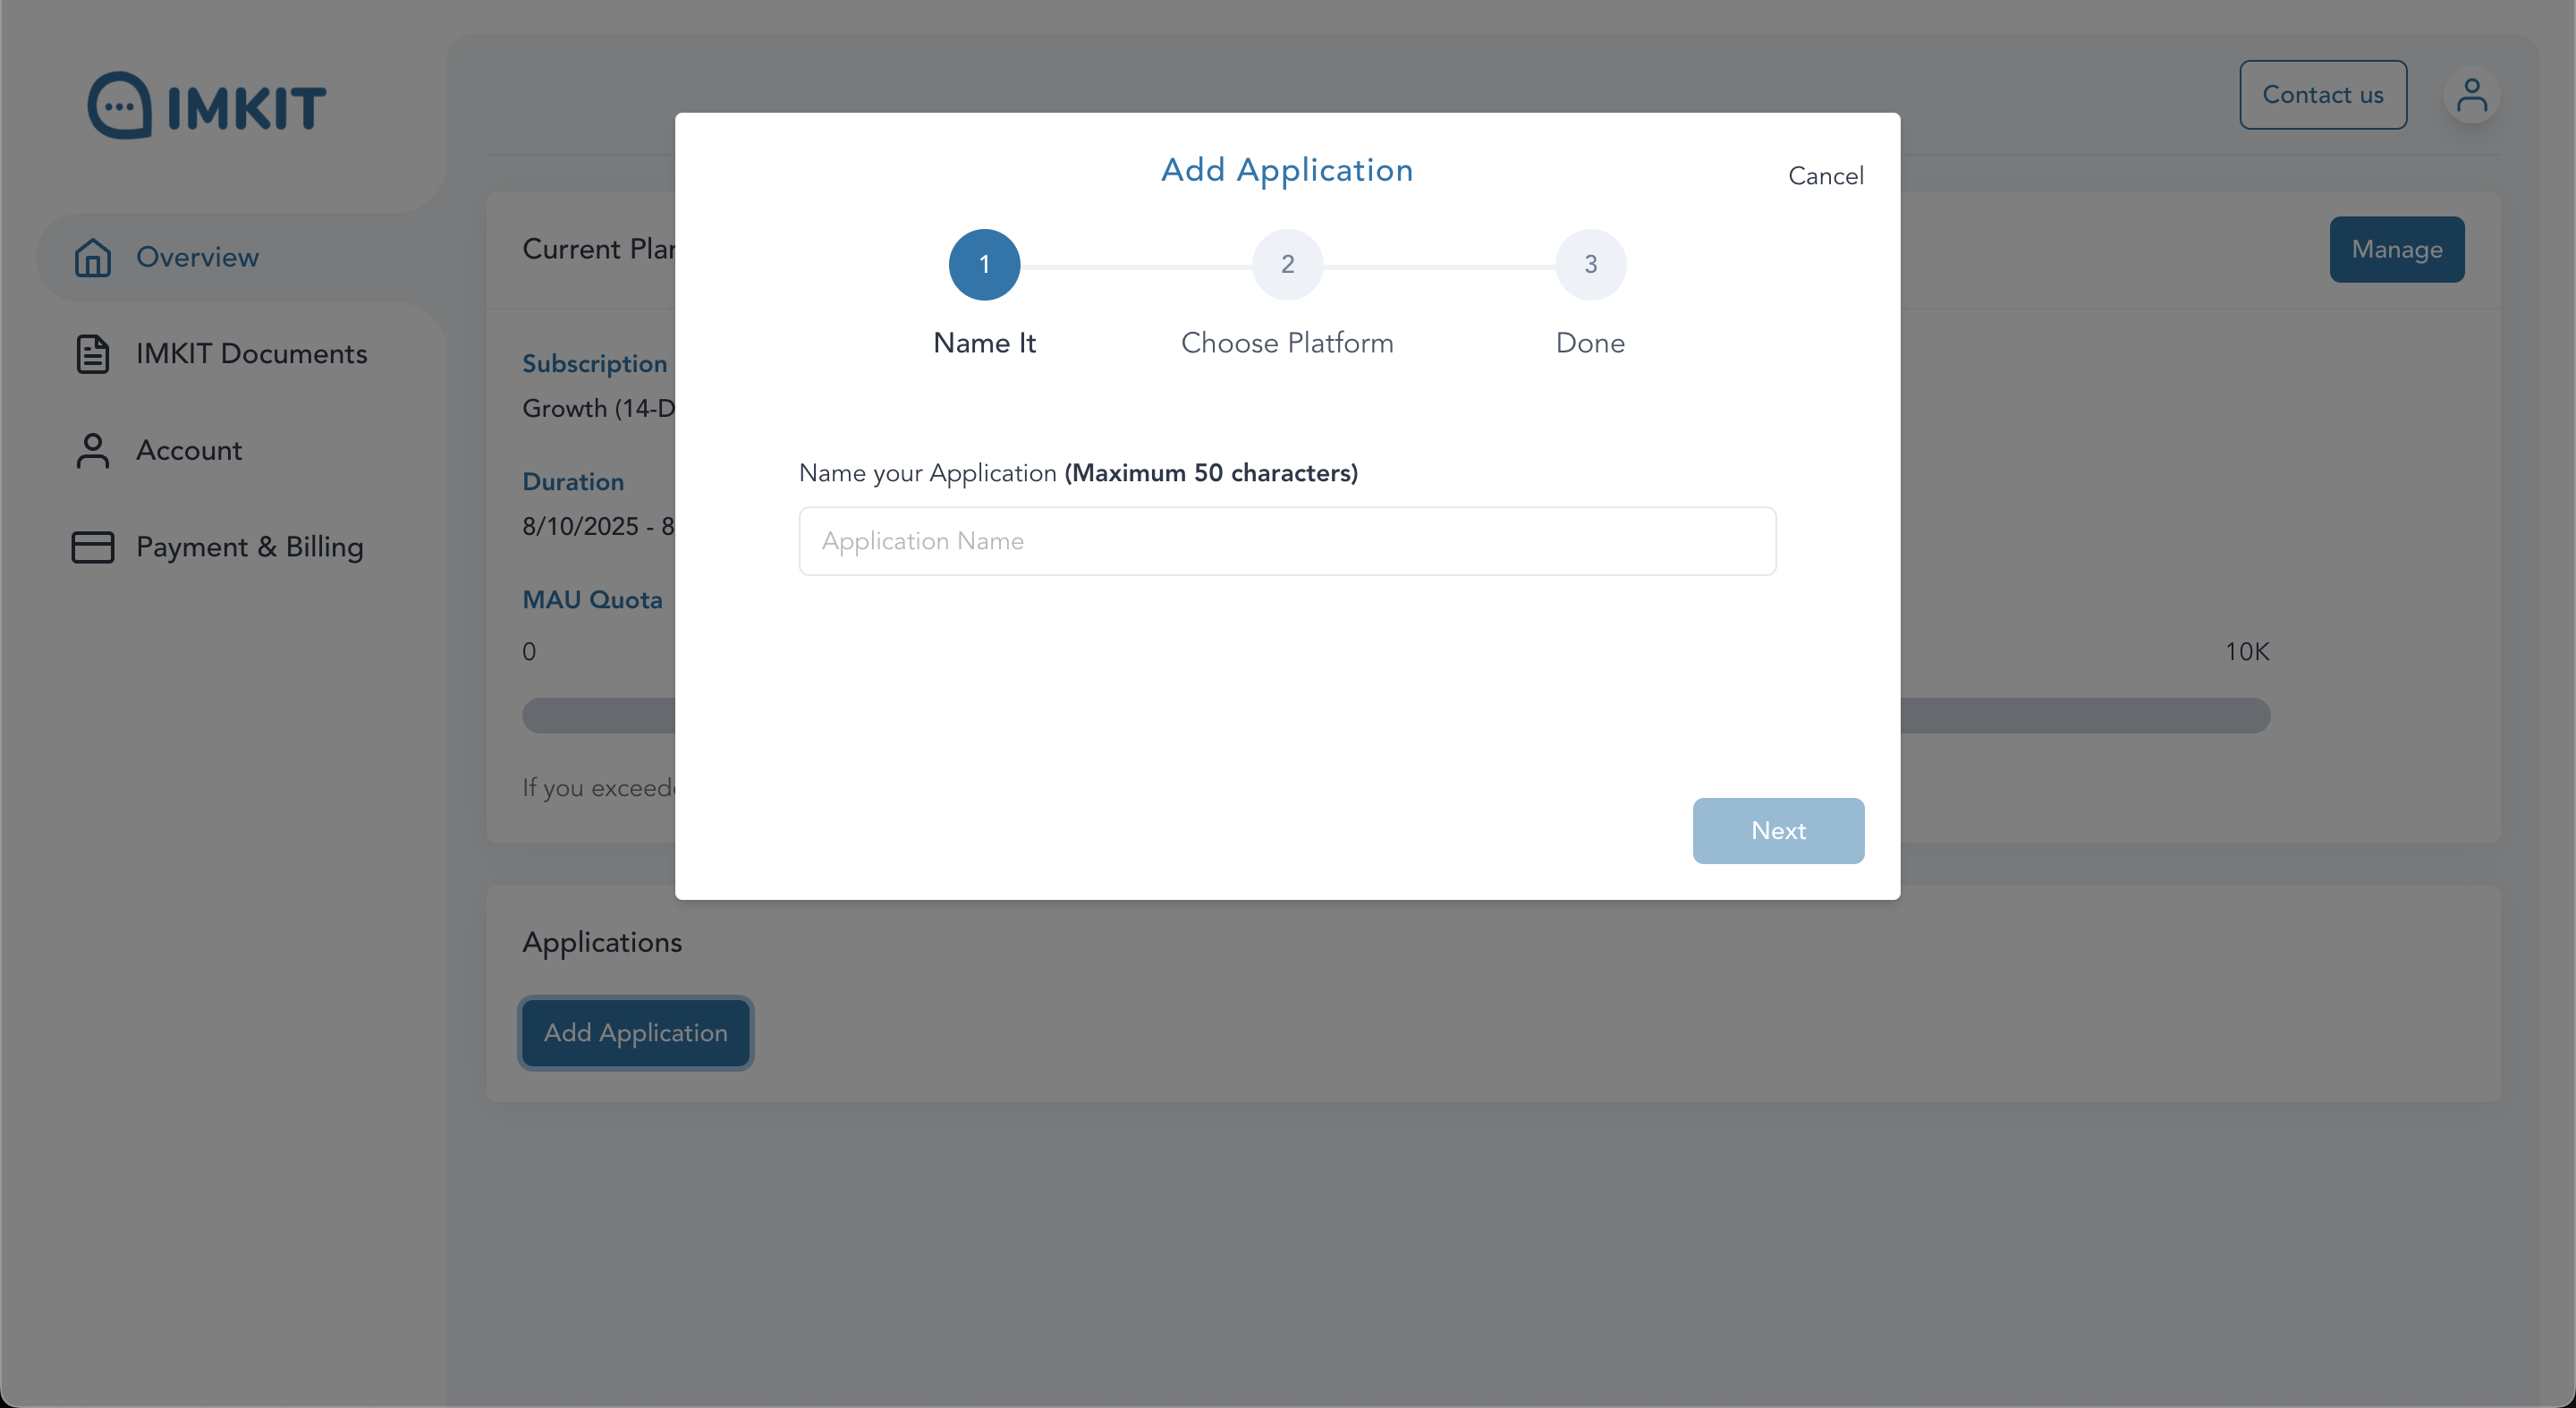
Step 2: Create a Chat Server
- Click
Add Applicationbelow
- Enter the Application name (this can be the name of your website or app)
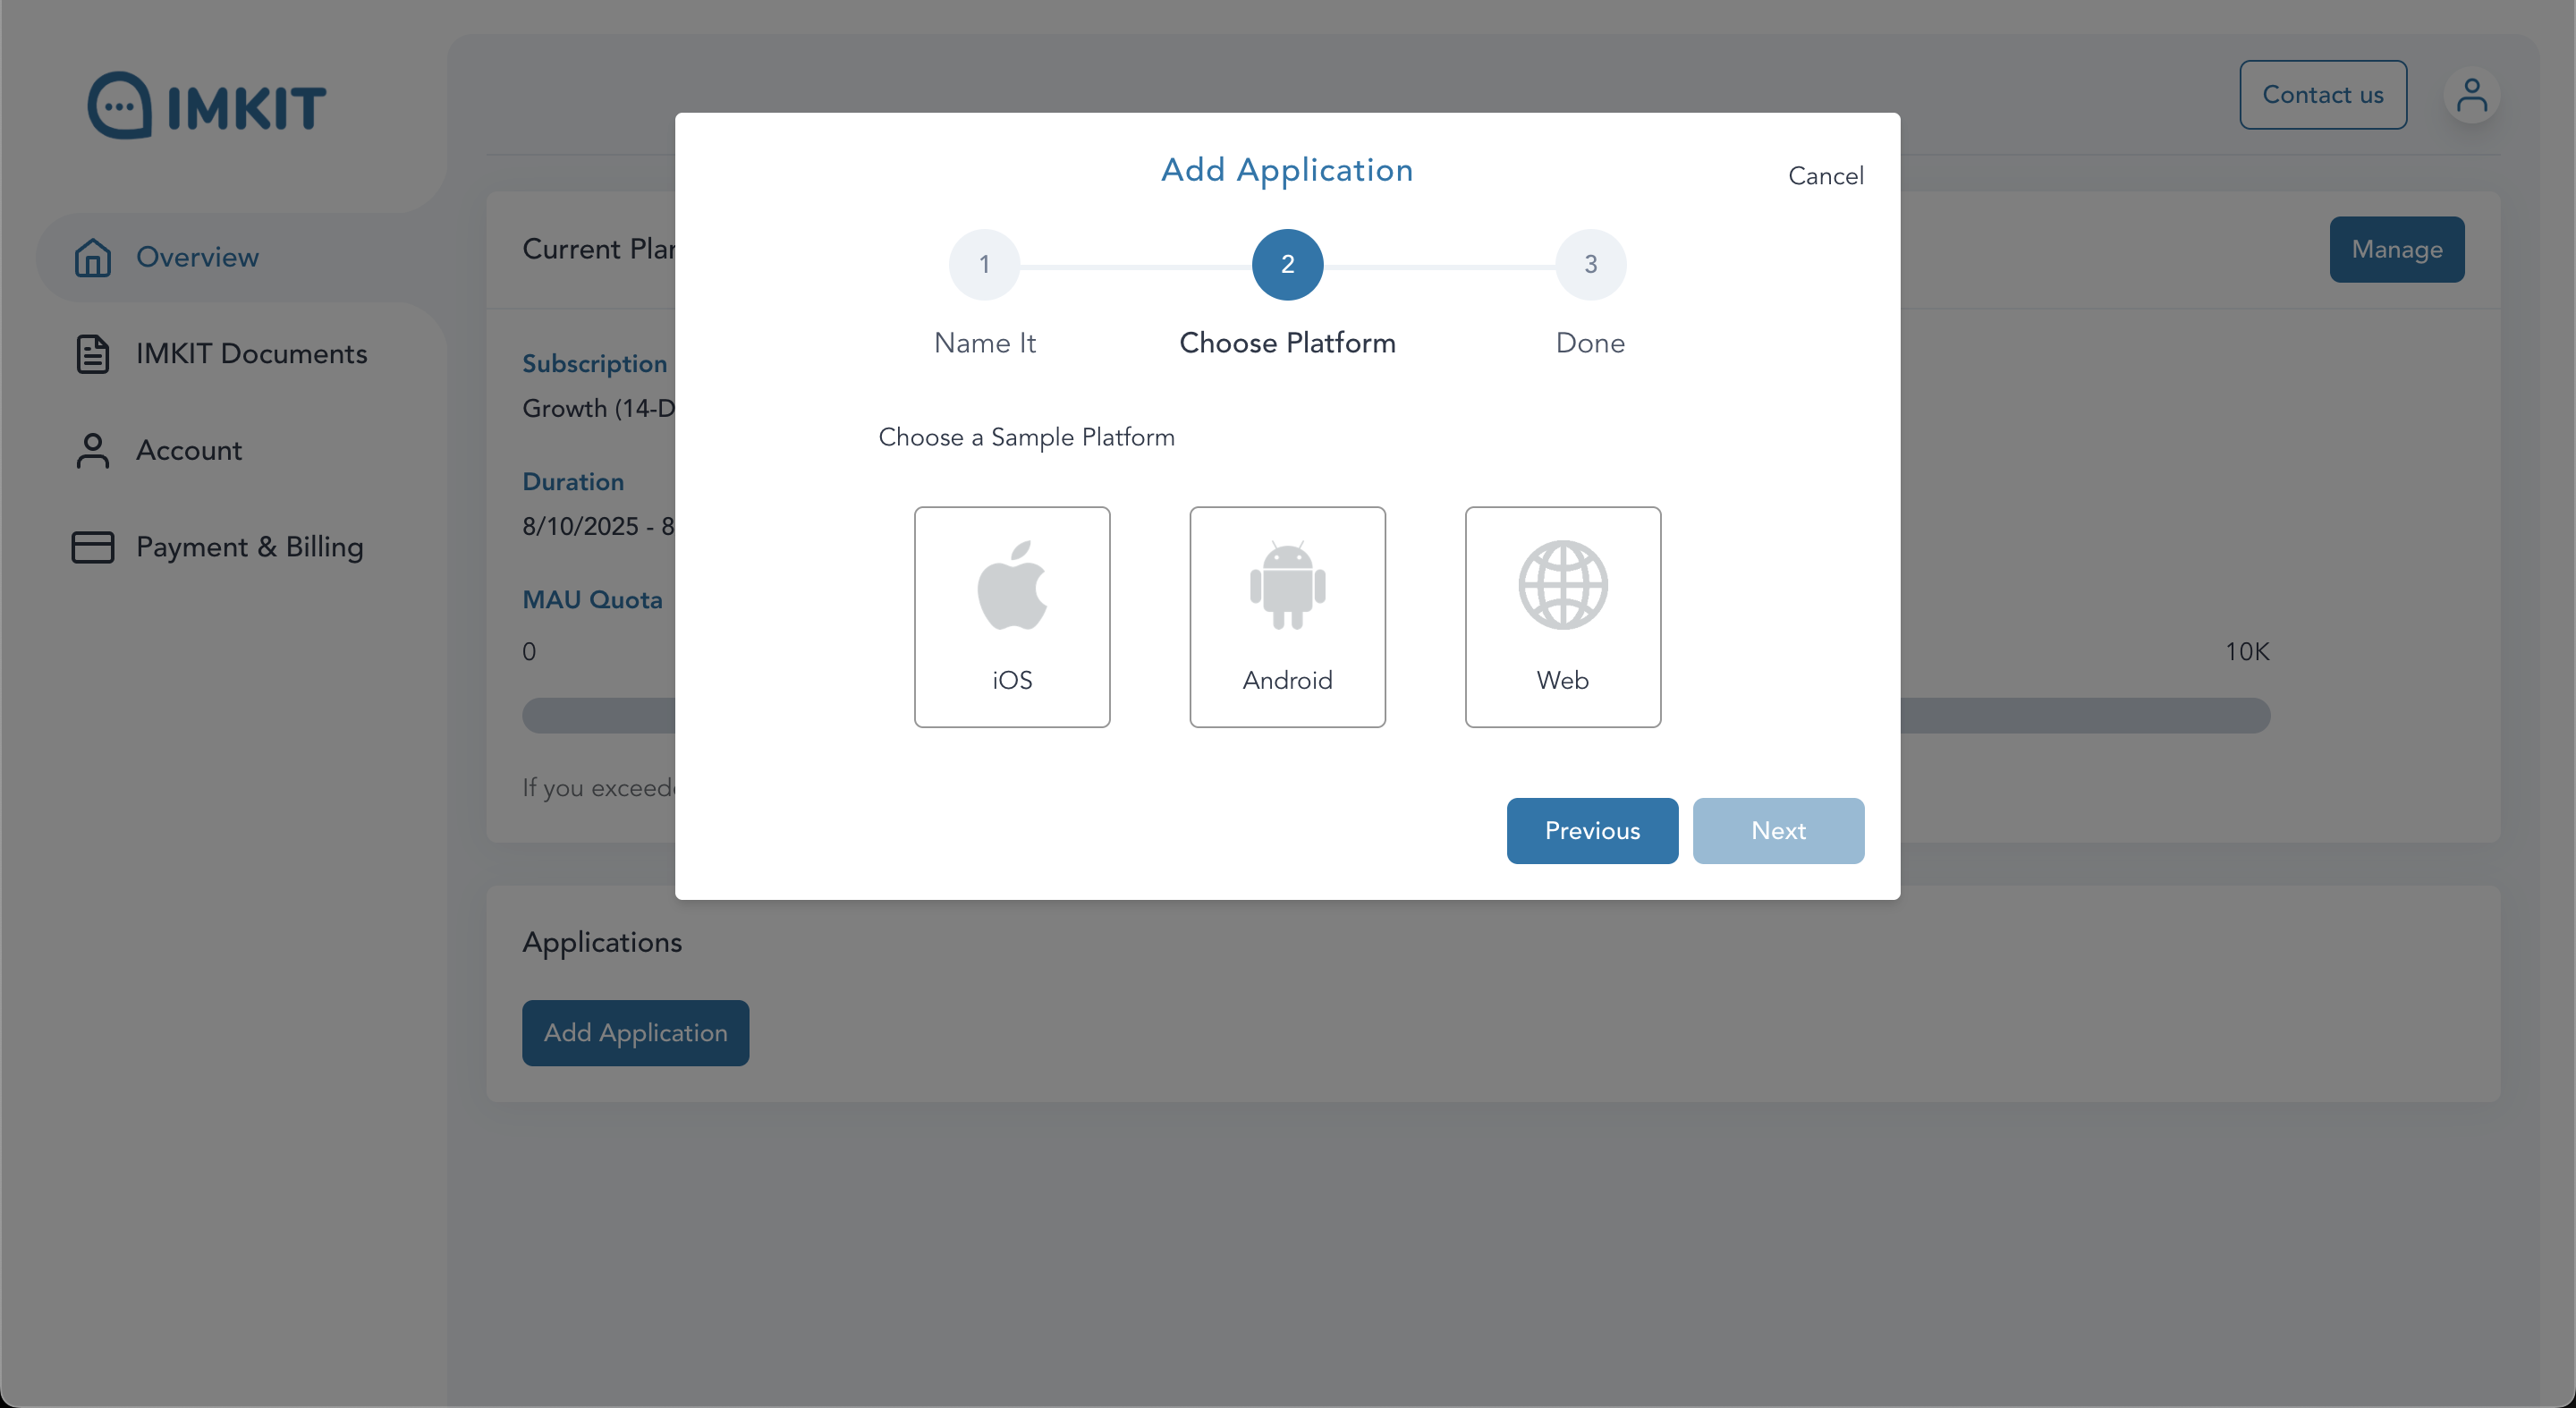
- Select the corresponding SDK environment
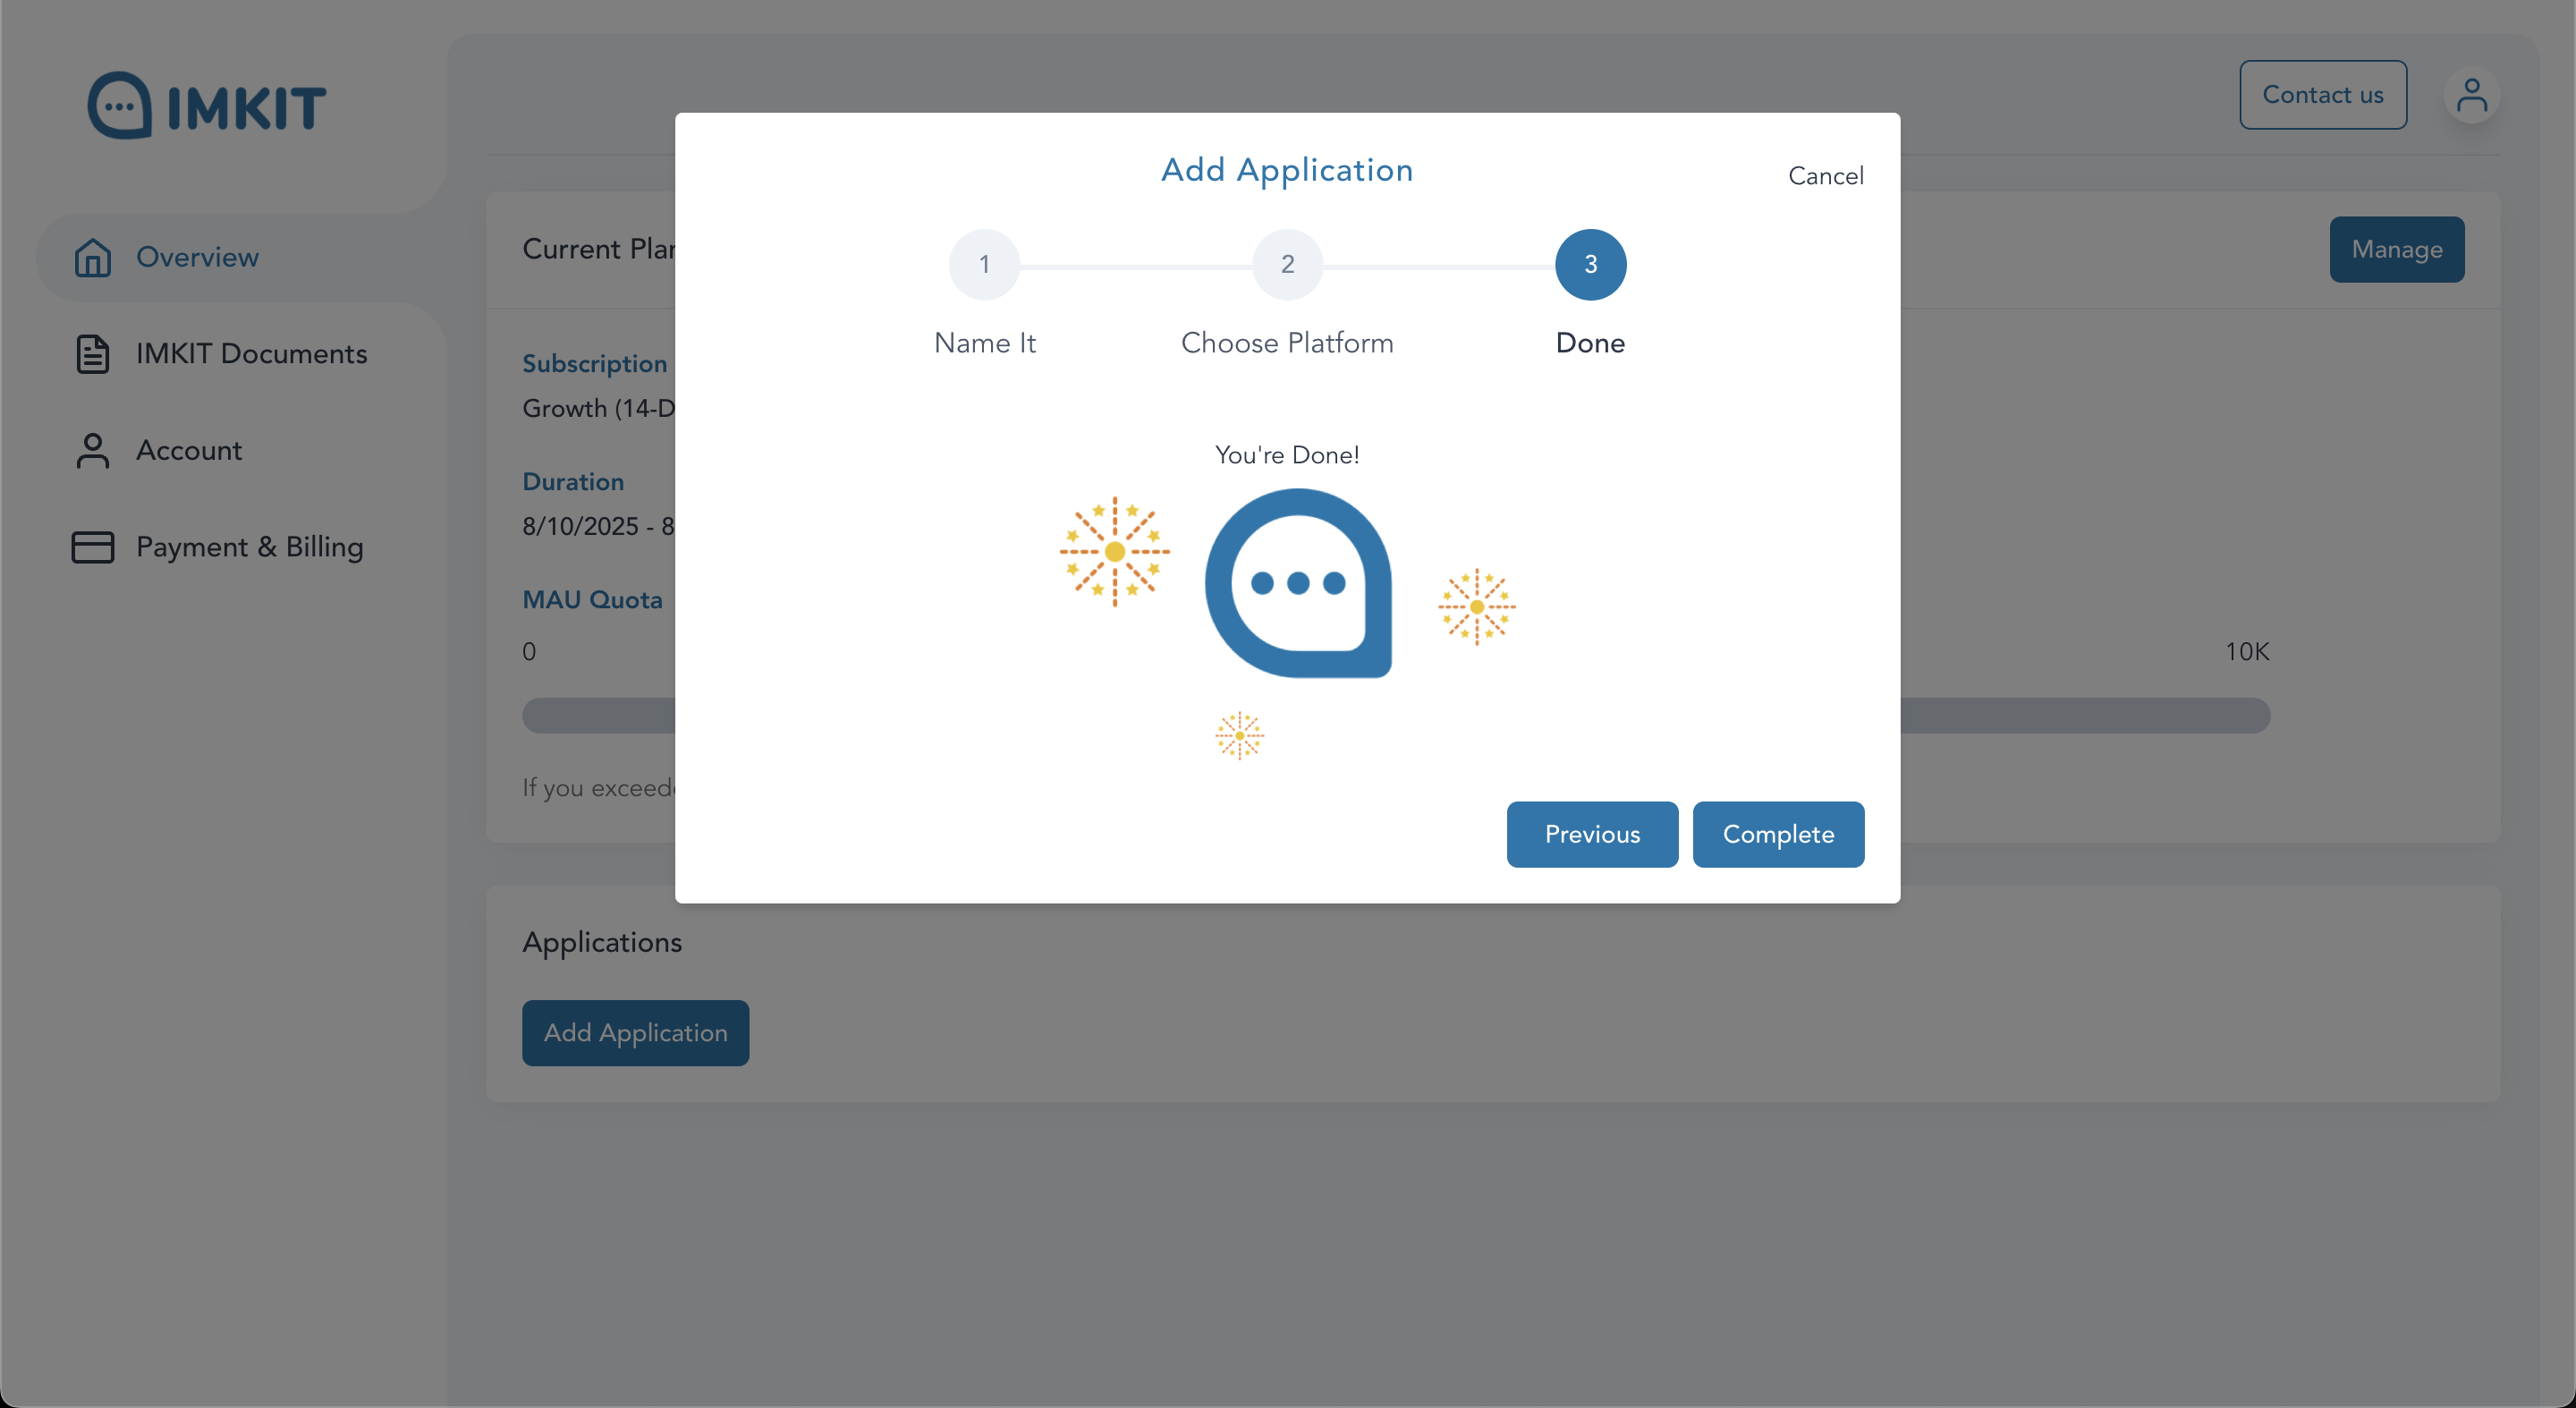
- Click
Completeto finish creating the Chat Server
Step 3: Obtain Chat Server Keys and Parameters
- Client Key: The key used when calling backend APIs from the SDK side, labeled as
IM-CLIENT-KEYin the API documentation
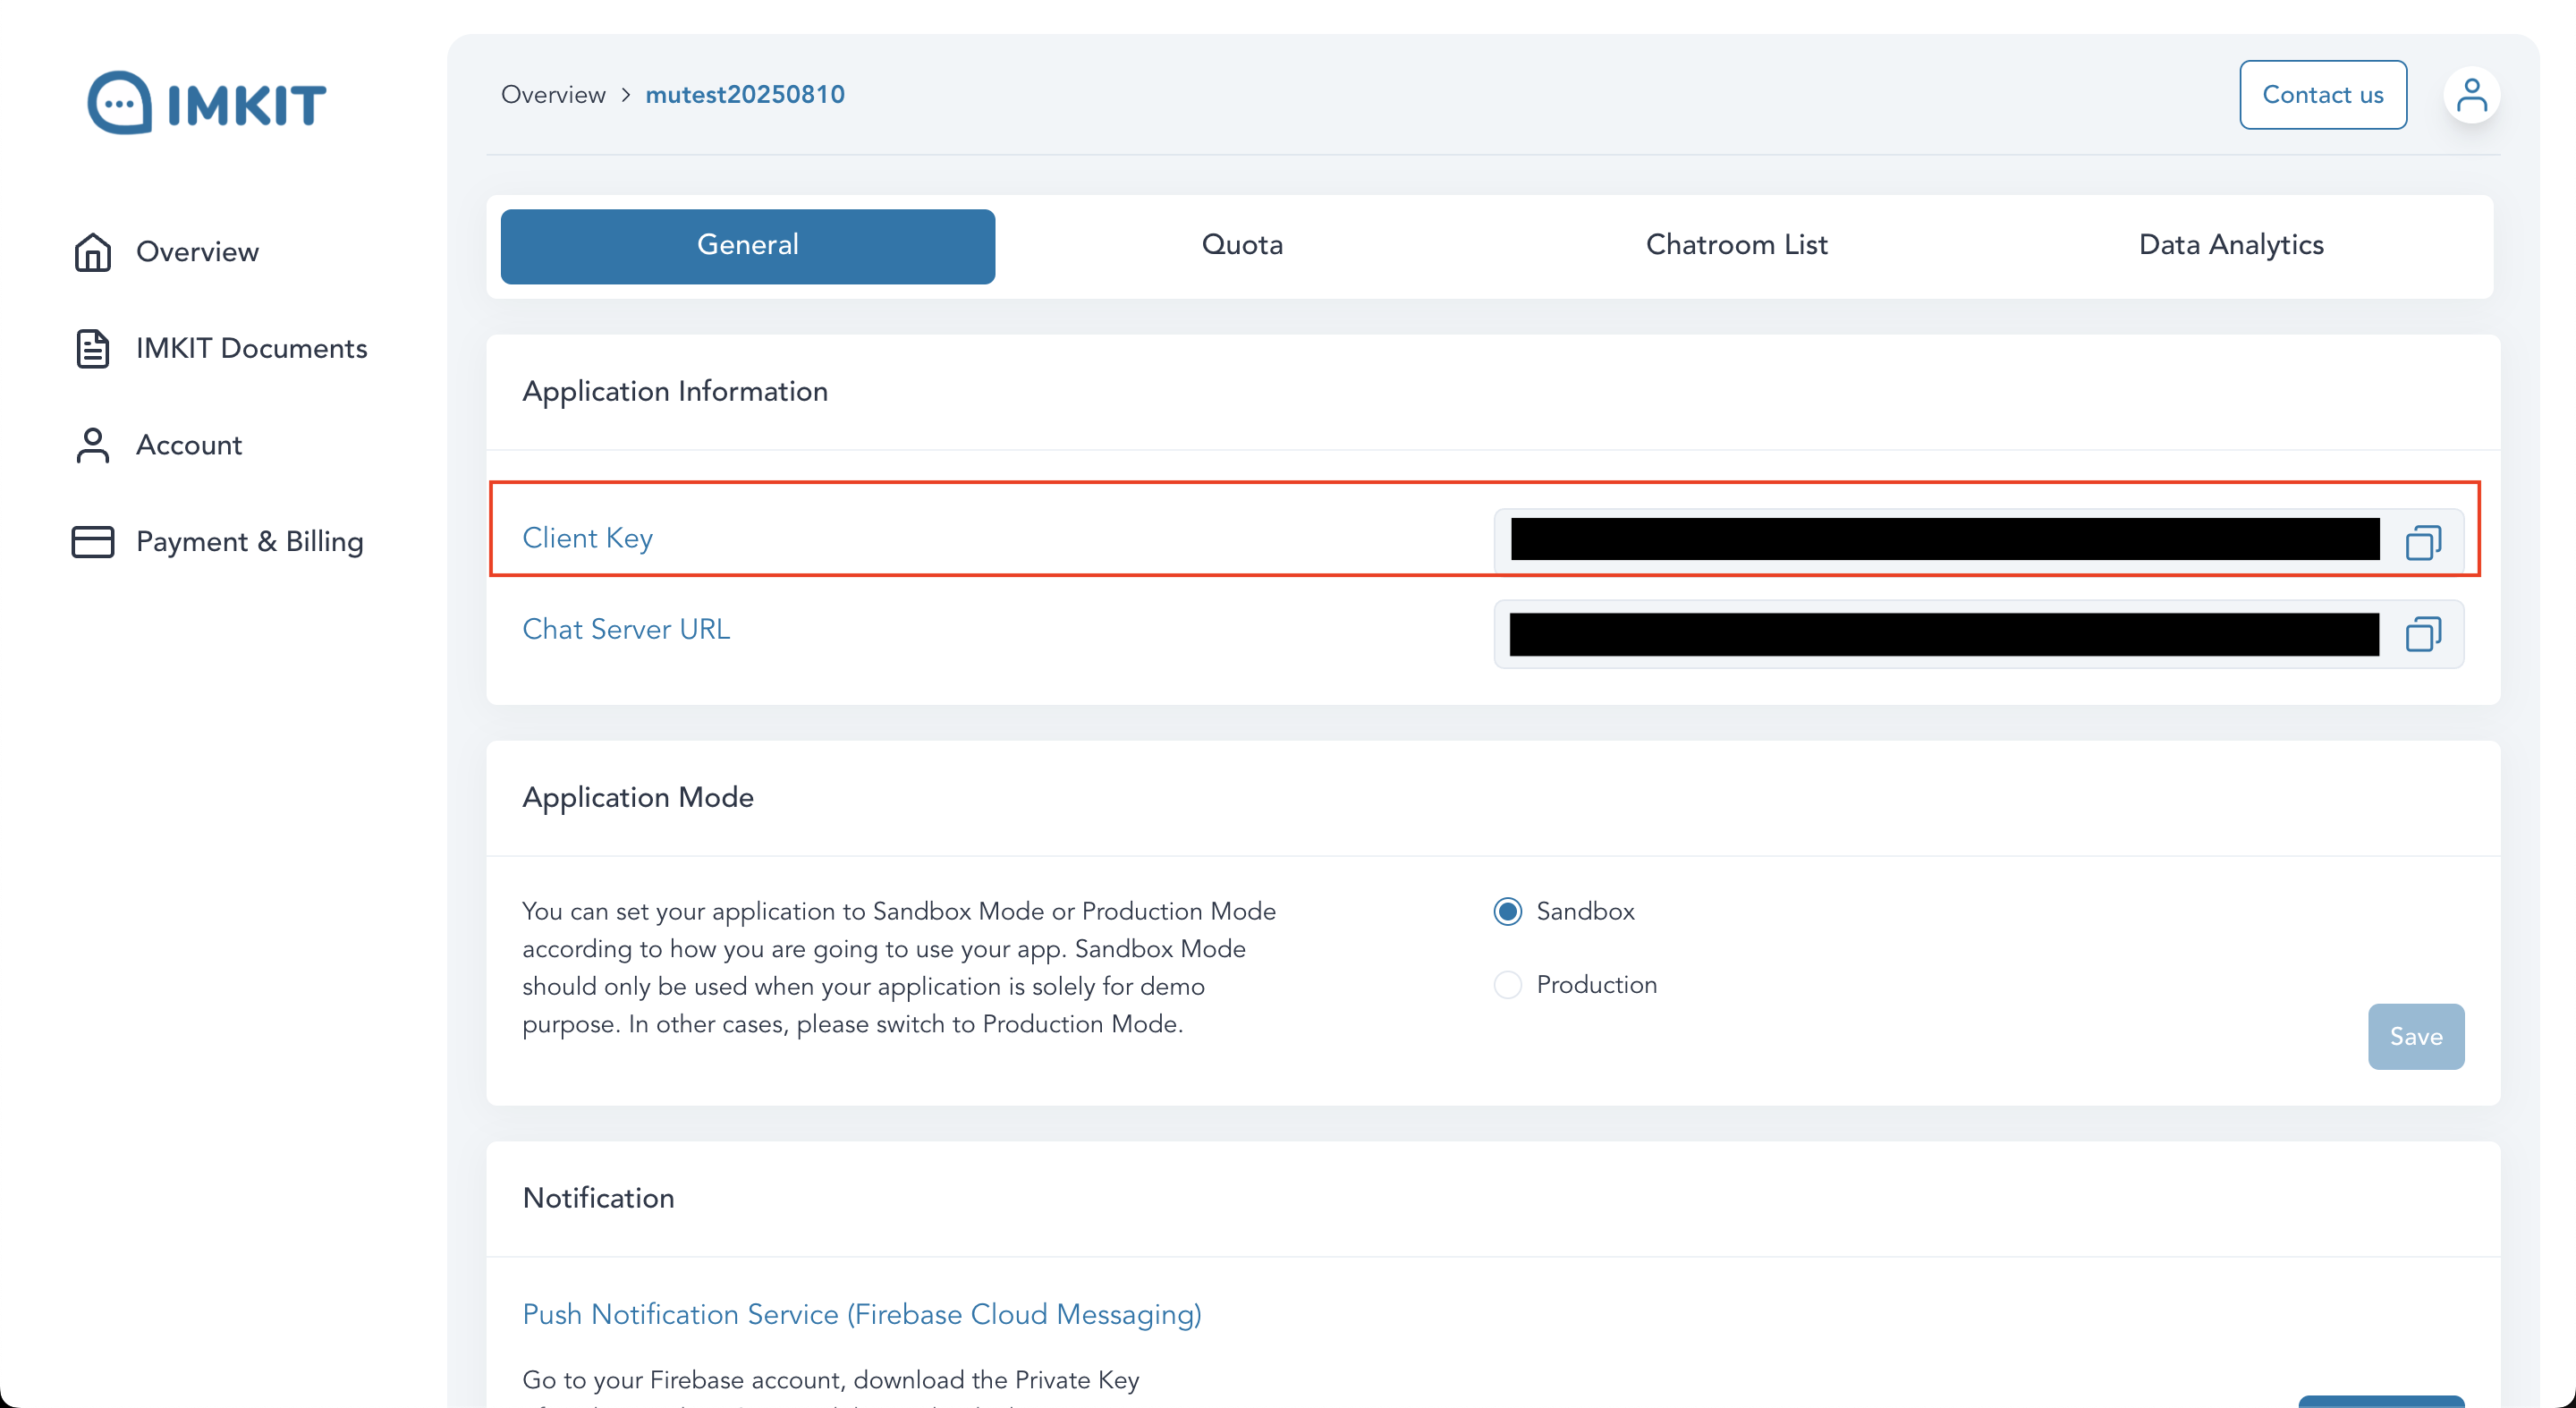
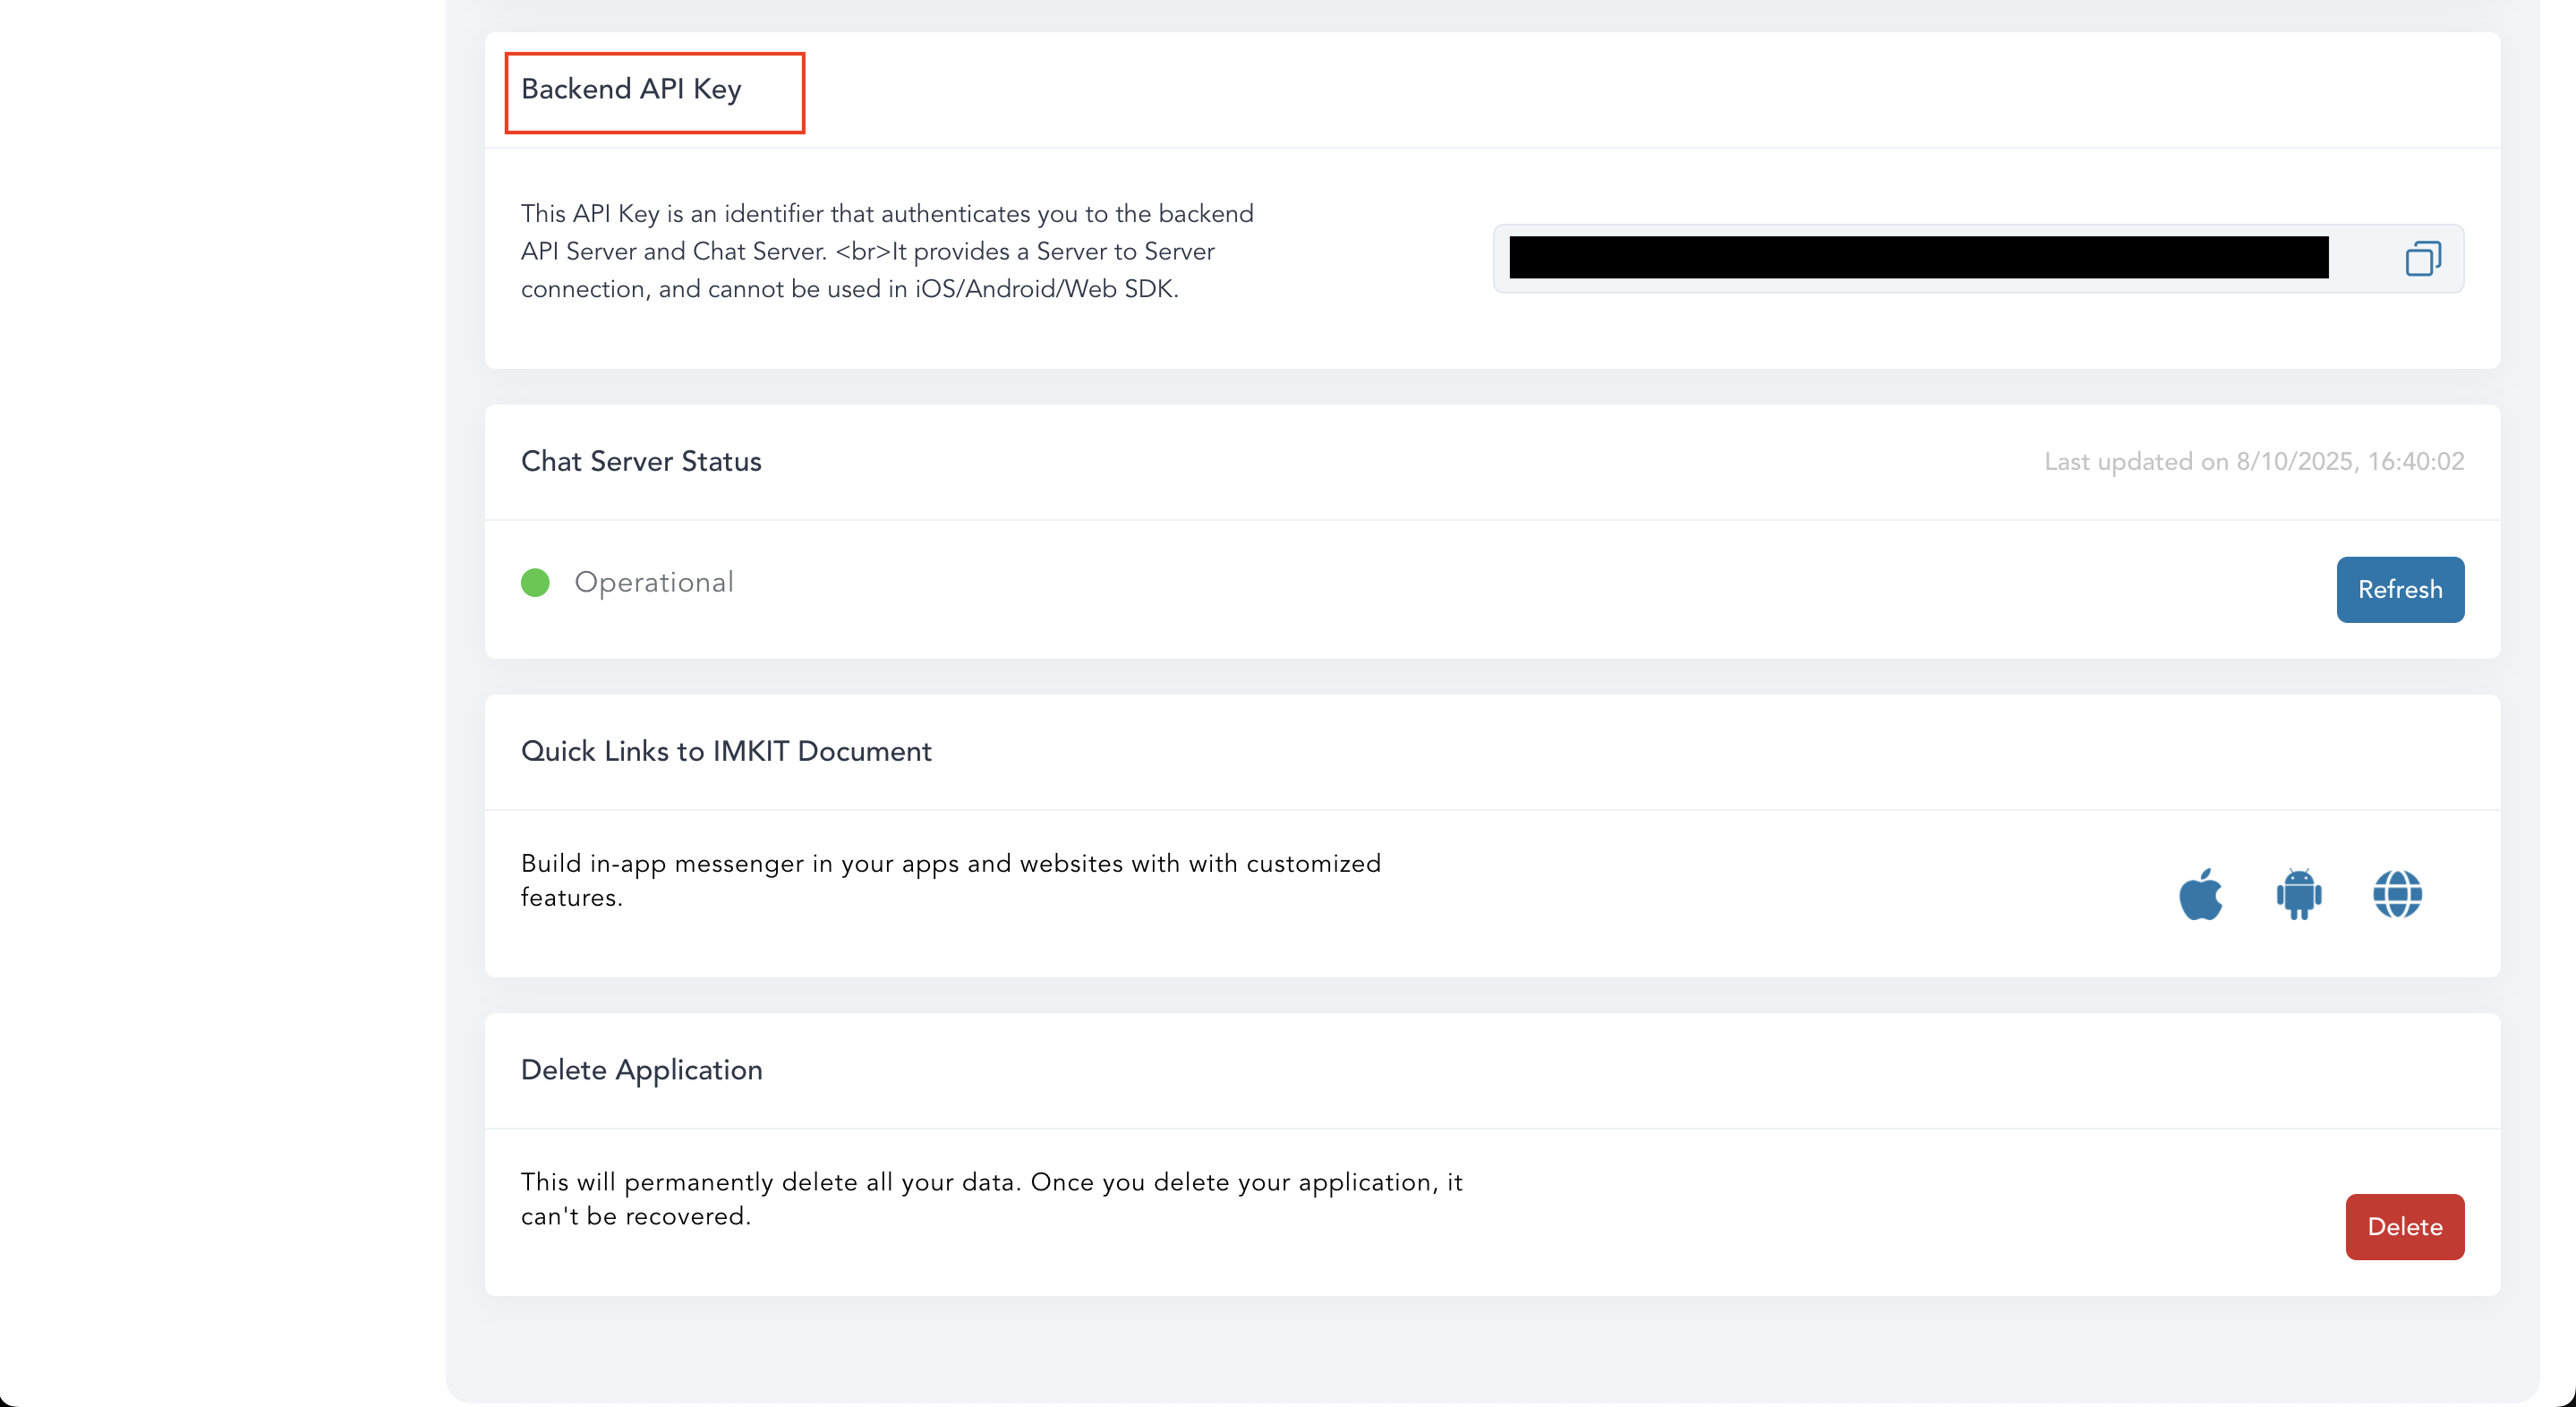
- Backend API Key: The key used when calling backend APIs as an Admin, with the highest permissions, labeled as
IM-API-KEYin the API documentation
- Chat Server URL: The actual URL of this Application’s Chat Server, which will be
https://[YourApplicationName].imkit.io

Step 4: Test the API with Postman (Optional)
Once you have your keys, import our Postman Collection to start testing the Chat Server APIs immediately — no code required.
Downloads
- IMKit API Collection
- IMKit API Environment (environment variable template)
Import Steps
- Open Postman, click Import in the top-left corner, and import both JSON files
- Switch to the Environment dropdown in the top-right corner, select IMKit API, then click Edit to fill in the following variables:
| Variable | Value (from Step 3) |
|---|---|
domain | Chat Server URL (e.g. https://myapp.imkit.io) |
apiKey | Backend API Key |
clientKey | Client Key |
token | Access Token obtained from the “Create or Update User” API |
- Save and select any request, then click Send to start testing
Next Steps
After creating your Chat Server and obtaining the keys, we recommend reading:
- Basic Integration — Walk through the full flow in 4 steps, from creating users to receiving push notifications
- Web URL Parameters — Control embed behavior (token, room, dark mode, etc.) via URL query parameters